A new age digital visual learning experience without a teacher. Creating systematically designed module for individual to nurture their creative expression.
Thursday, 24 December 2015
#Drawing#Exercise#13
#Drawing#exercises#tada-dada#art#club#learn#how#to#draw#and#paint
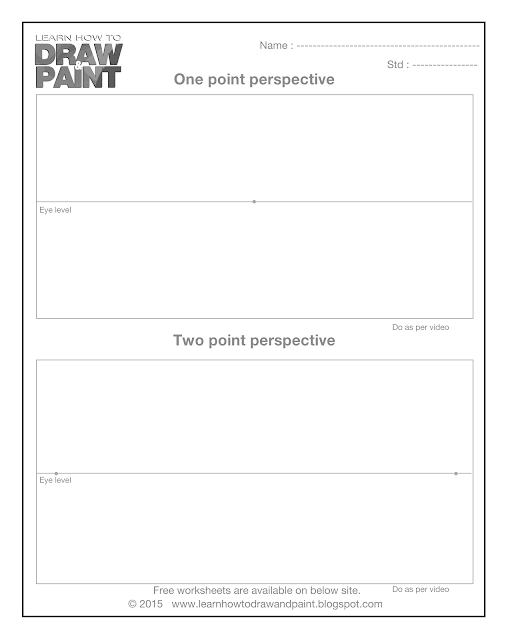
Friends, perspective means a method to draw a picture that makes objects look solid. It also shows the distance, depth and effect this method produces in a picture.there are three ways to draw a perspective :
Watch video and enjoy this perspective exercise.

Friends, perspective means a method to draw a picture that makes objects look solid. It also shows the distance, depth and effect this method produces in a picture.there are three ways to draw a perspective :
1.
One point perspective
2.
Two point perspective &
Three point perspective Watch video and enjoy this perspective exercise.
Saturday, 19 December 2015
#drawing exercise_11
#Drawing#
exercise#tada-dada#art#club#learn#how#to#draw#and#paint
Pencil
shading means creating different shades with the help of a pencil. You always
have to begin every drawing with a pencil. Basic shapes are first drawn with
the help of a pencil. Pencils are also used to create different shades which
can make drawings look real.
#drawing exercise_07
#Drawing#
exercise#tada-dada#art#club#learn#how#to#draw#and#paint
Friends, in this exercise we shall learn how to draw and colour
a symmetrical picture. Let me first explain to you the meaning of symmetry. Symmetry
happens when exactly similar parts are shown facing each other. They are also
known as mirror images of each other.]
Watch the video and enjoy this Symmetrical
design exercise
#drawing exercise_05
#Drawing#
exercise#tada-dada#art#club#learn#how#to#draw#and#paint
Friends, we shall learn about different types of colours with
the help of a colour wheel. You all love to draw and colour. It is very
important to draw neatly but it is also very important to choose colours wisely
so that what you draw looks very nice. Remember friends, there are three types
of colours.
1)
Primary colours 2) Secondary colours 3) Tertiary
colours
In this exercise you have to fill only Primary and secondary
colours.
Primary colours are: Yellow, Blue and Red.
Secondary colours are: Green, Violet and Orange.
Fill colours neatly, and enjoy you exercise.
#drawing exercise_04
#Drawing#
exercise#tada-dada#art#club#learn#how#to#draw#and#paint
OK, friends, you all like to color and fill in shapes. In
this exercise we will learn how to fill colors in basic shapes. You can see
here some basic shapes – square, circle, rectangle, triangle, etc. You have to
fill different colors in these shapes. You should always start coloring from
the outline and then color inside so that the colors do not go out. Sometimes
the colour may go out but you should not feel sad. Just keep trying again and
again and soon you will get neatly coloured shapes. So enjoy your colour
filling exercise.
#drawing exercise_03
#Drawing#
exercise#tada-dada#art#club#learn#how#to#draw#and#paint
Dear Friends,we will now practice drawing the figure 8. Draw the number 8
without leaving your pencil. First draw clockwise direction. Keep on drawing
which will give your hand a very good practice for curve lines. Then draw in
the anti-clockwise direction. This will give you a good practice to draw in any
direction you want. You can draw another 8 on the page and keep practicing.
Drawing exercise_02
#Drawing#
exercise#tada-dada#art#club#learn#how#to#draw#and#paint
So, let us begin our practice session. We begin by practicing
to draw sleeping lines. Draw horizontal lines from the left side of the page to
the right side. Continue drawing these lines one below the other. The more you
practice, the steadier and straighter your lines will appear.
Now, draw horizontal or sleeping lines from the right side
of the page to the left side. This is the exact reverse of what we did earlier.
This is a great way to build our basics.
Next, draw straight or standing lines. We will draw them
from the top of the page to the bottom of the page. One by one, draw the
standing lines parallel to each other. Remember, this practice will make your
hand steady.
Now, draw standing lined from the bottom of the page to the
top of the page. This will improve your control on your drawing.
In this series of practice, the next exercise is drawing
cross lines. Start from the top left corner of your page. Draw cross lines from
bottom left to top right as shown here. Keep drawing cross lines in this
manner, one below the other.
Let us now reverse this exercise. We will draw cross lines
from the top right to the bottom left. Draw the cross lines as parallel as
possible.
We shall now do cross lines from left top to right bottom,
starting from the right top corner of the page. As we had done earlier, we will
draw the similar cross lines one below the other.
Now, we will practice to draw waves or curved
lines. From the left top corner of the page, draw wave like curves going up and
down, and up and down. Now, below the first wave, draw another wave parallel to
the first. These waves should look similar to each other. Continue drawing these waves, one below the
other, till the bottom of the page.
Drawing exercise_01
#Drawing# exercise#tada-dada#art#club#learn#how#to#draw#and#paint
Take a pencil and start drawing circles like this. Draw
them again and again without leaving your pencil. Don’t worry, they may not
come neat. If you keep practicing, they will soon start looking perfect. Draw
it in the anti-clockwise direction and clock-wise direction. Friends, we are doing this exercise so as to loosen up
your wrist. When your wrist loosens up, your hand will move smooth and swiftly.
Subscribe to:
Comments (Atom)


